


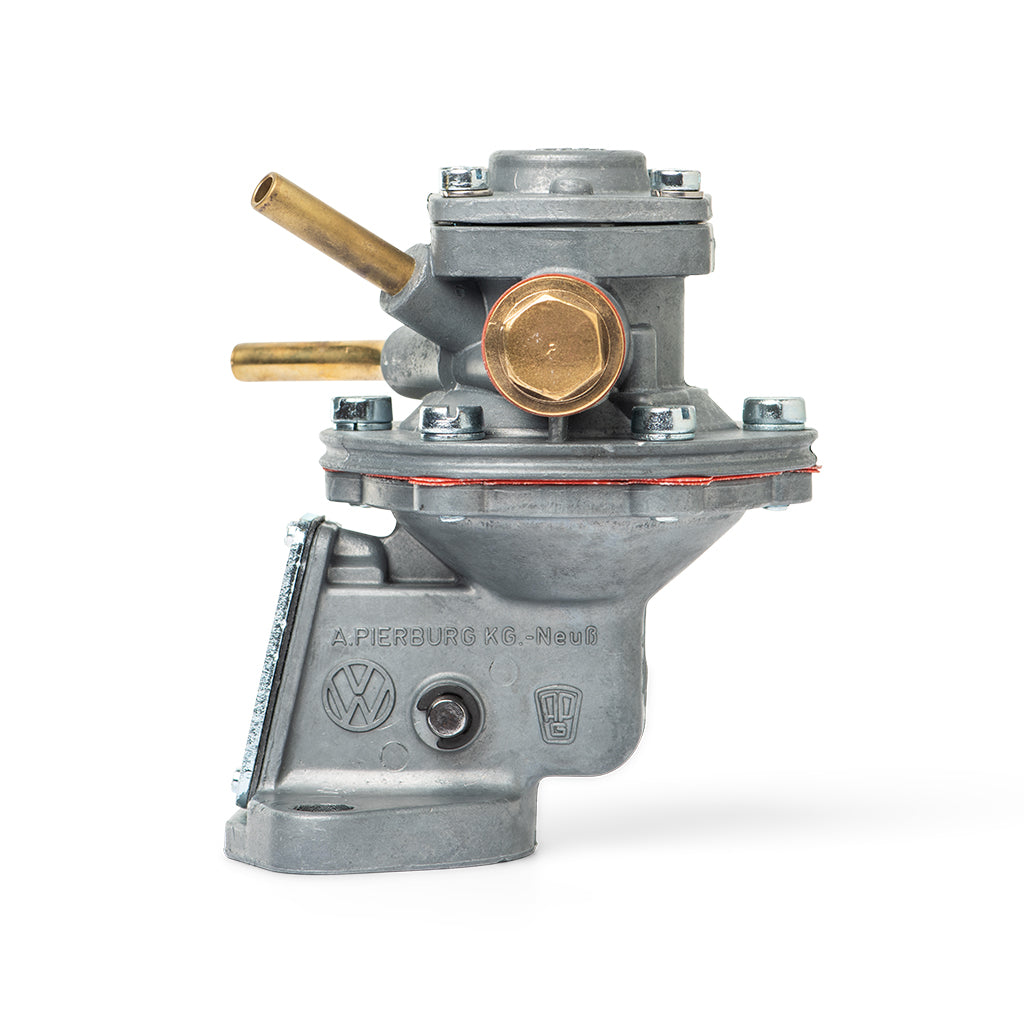
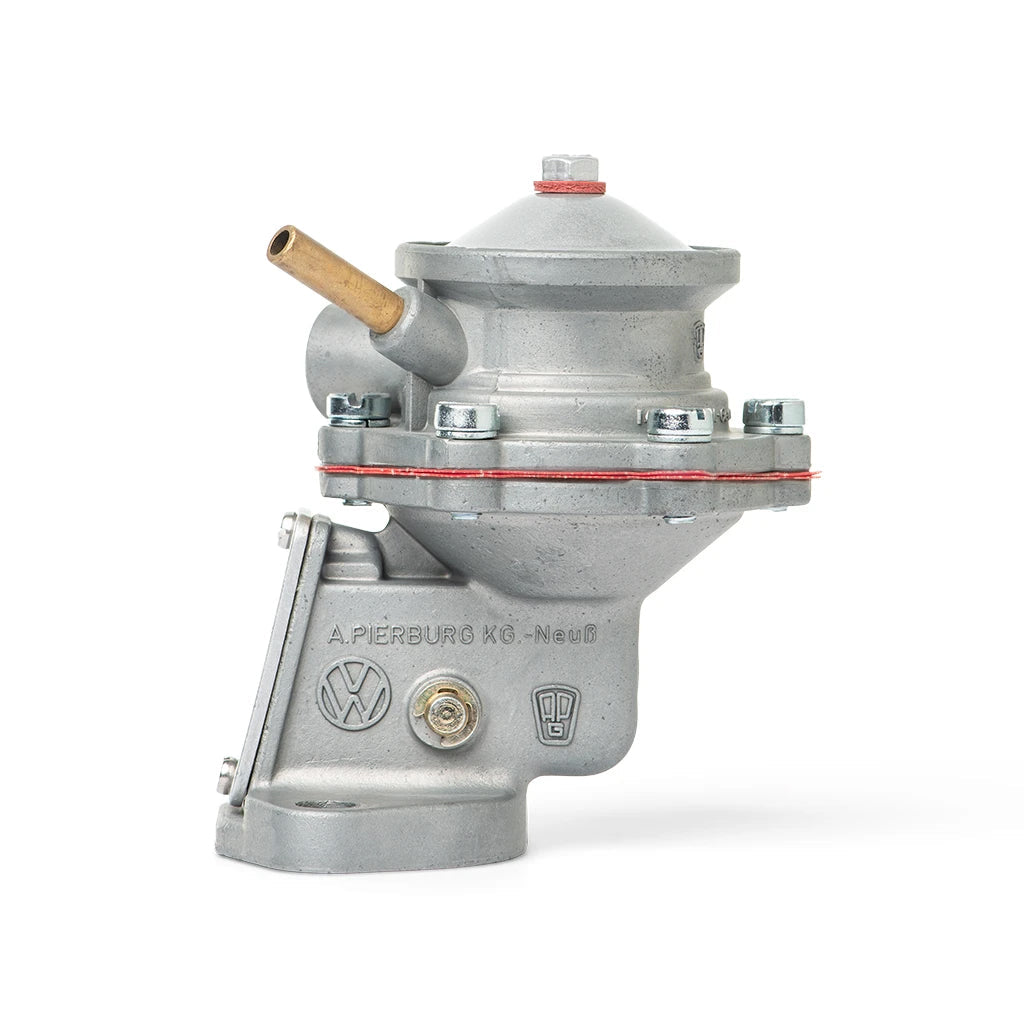
Fuel Pump Installation

If you've recently purchased one of our restored German Pierburg fuel pumps, we’d first like to thank you for supporting our small business.
It's time to replace that incorrect aftermarket unit. Now that you've unpacked the box, you may be wondering, "how do I correctly install this gem?" As you may know, these cars were designed to be worked on (The Peoples' Car). Let's get started!
Step 1 — Remove your old pump
- Loosen hose clamps, and disconnect fuel lines from the old pump. Use a rag to catch any fuel. (On 1965 and earlier models, unscrew inlet line with line wrench).
- Remove the two 13mm nuts connecting the pump to the engine. Lift and remove the old pump.
- Lift pushrod and inspect for any wear. Avoid damaging the bakelite flange.
Step 2 — Install your new pump
- Ensure you have the correct 108mm pushrod. (Ignore if it’s a 36 HP motor).
- Place new gaskets on the flange, included with your new fuel pump. Lift flange.
- Grease fuel pump pushrod.
- Slide the pushrod down through the insulator block guide tube with pointed end down.
- Grease the fuel pump rocker arm at the bottom of the restored pump.
- Position fuel pump over studs, gasket, and insulating block. Tighten with two 13mm nuts (18 ft-lb torque). Avoid over-tightening.
Step 3 — Reconnect fuel lines
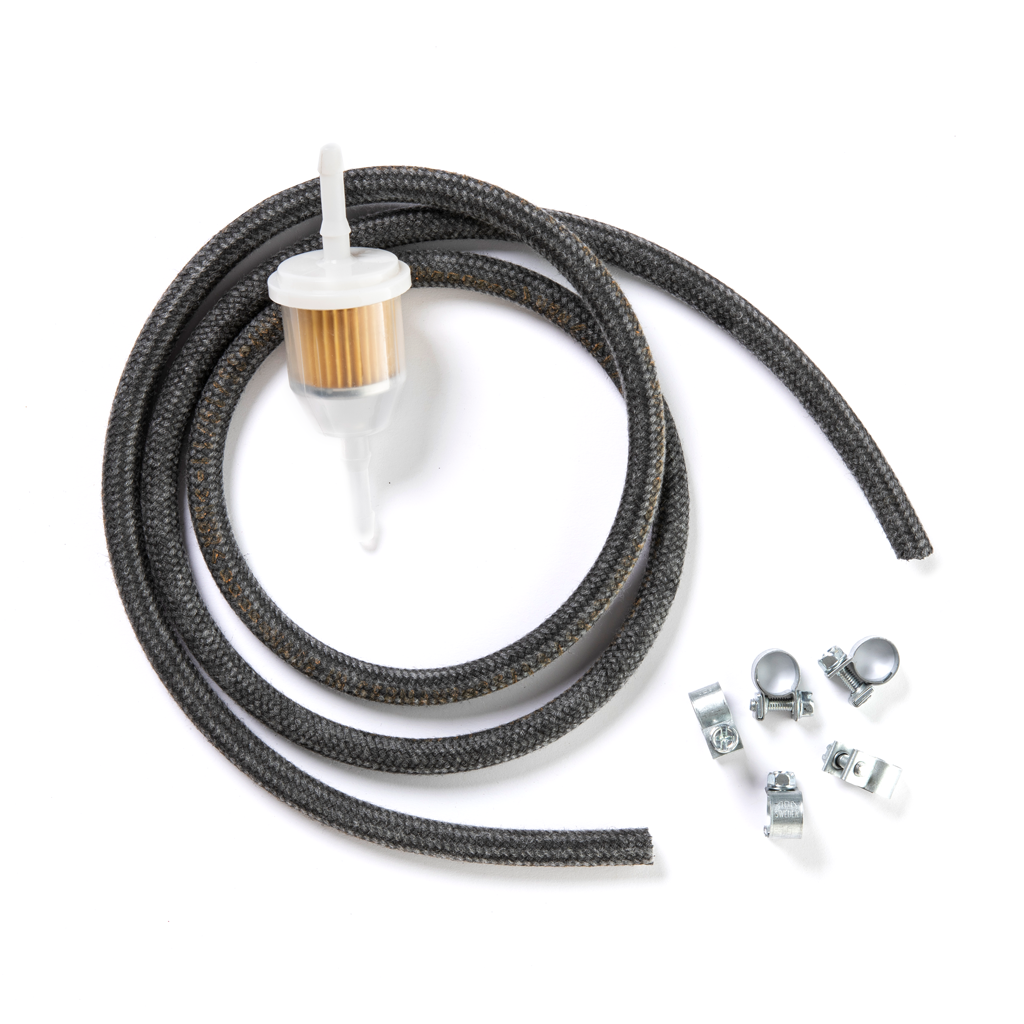
- Reconnect fuel lines: rear inlet from fuel tank, top inlet to carburetor. Secure hose clamps. (On 1965 and earlier models, use line wrench to screw inlet line into the fuel pump).
- Start the engine. Let it warm up to a smooth idle with the new pump.
You’re done!
If you have any questions, feel free to email us at eric@aircooledartifacts.com.
We’d love to see your restoration! Share photos with us at the email above, or tag us on Instagram and Facebook — @aircooledartifacts.

Leave a comment